Display instructor pictures in questionnaires
The Secondary Subject Selection feature allows raters to select a particular secondary subject (e.g. an instructor) from a list of secondary subjects that are tied to a particular primary subject (e.g. a course). When using this feature, it is possible to show an image assigned to the secondary subject in questionnaires.
This topic explains how to upload and attribute secondary subject images, and how to display these images.
How to connect image files to secondary subjects
- Prepare the image files for all the required secondary subjects based on best practices.
- Make sure the images are available through a URL (https://somedomain.com/images/teacher1.jpg)
- Navigate to Record Mgmt and filter the datasource to locate your Subjects.
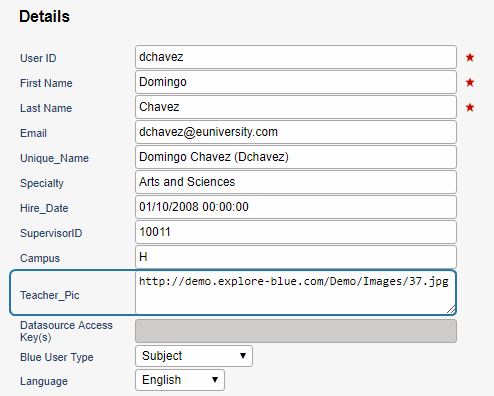
- Select Details next to the name of the person you wish to add a picture.
- Locate the picture field and fill it with the image URL (e.g. https://{blue server url}/images/bobsmith.jpg).If you cannot locate the picture field, please read the Datasources section below.
- Apply Changes and you are done with this secondary subject. Repeat for each secondary subject.
How to display a secondary subject image in a Section Title
There are two ways to display secondary subject images in a Section Title, either section mode or secondary subject selection. The process is exactly the same however only the Display Mode changes.
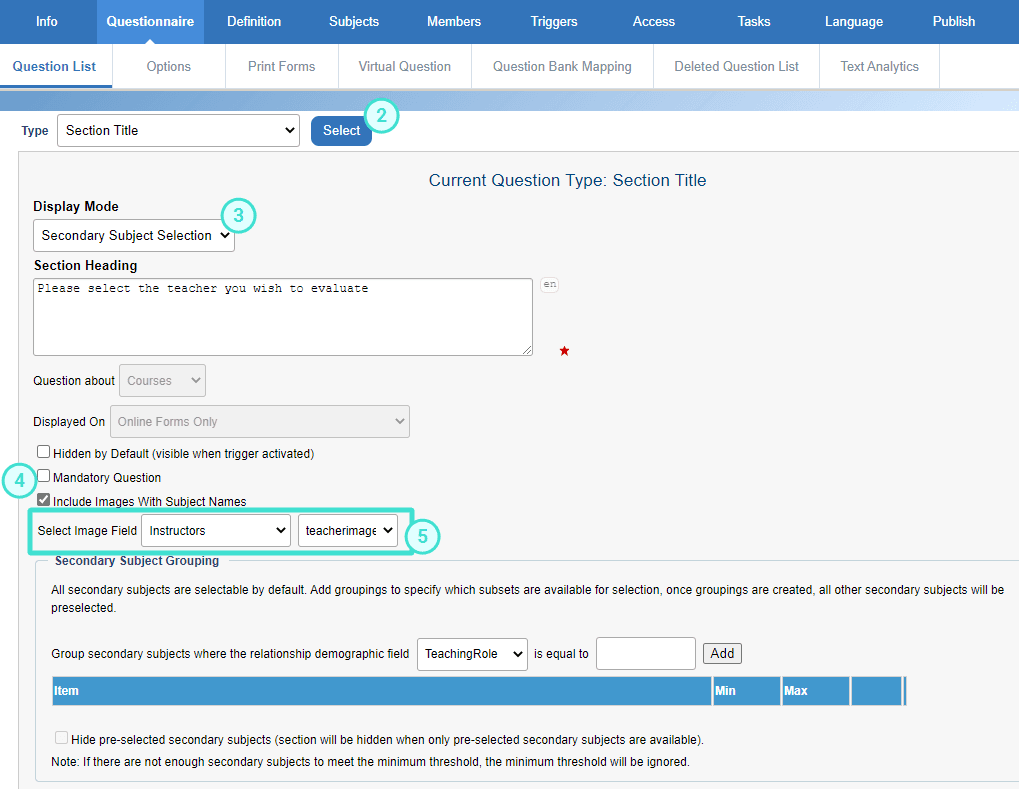
- Edit the Blue project and navigate to Questionnaire - Question List - Add Question.
- Click Add Question and select a Section Title question.
- Select either Secondary Subject Selection or Section display mode.
- Select Include Images with Subject Names and specify the field from the user datasource that contains the link to the image.
- Add a page break in the questionnaire after the Secondary Subject Selection item in the Question List so subsequent questions show correctly.
- Save and complete the rest of the project before publishing.
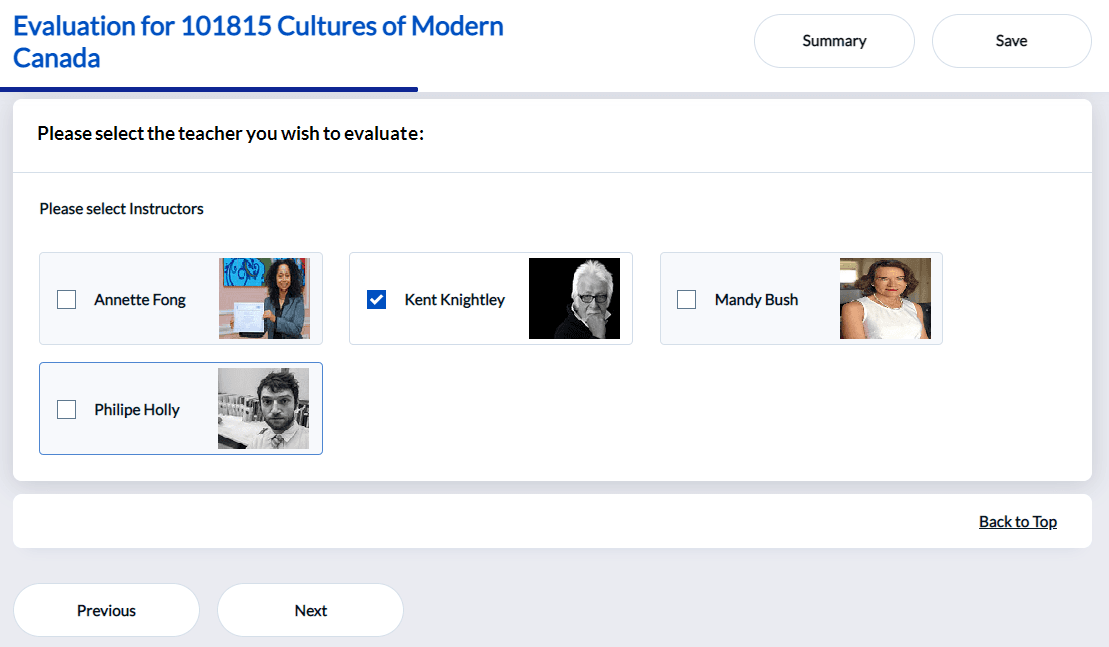
This is how Section Title - Secondary Subject Selection display mode will appear for raters in the questionnaire.
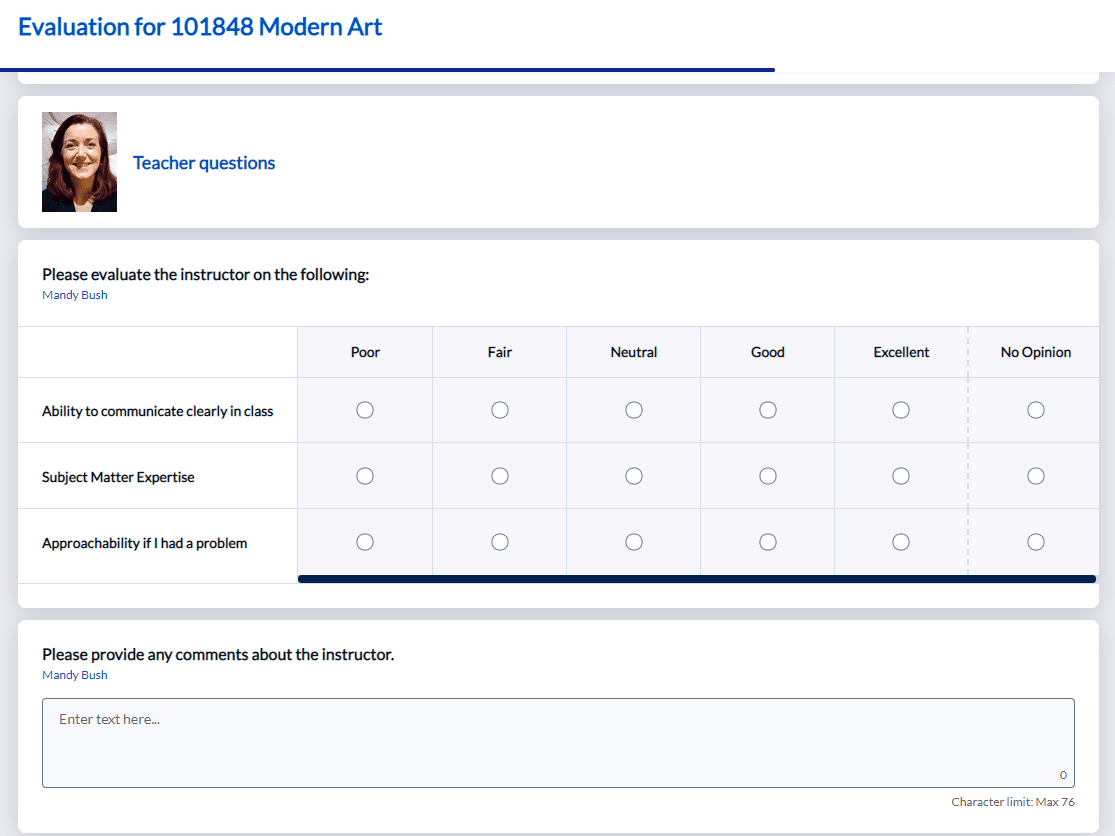
This is how Section Title - Section display mode will appear for raters in the questionnaire. The image of the teacher displays in the Section Title for all questions about that teacher.
- Image files should be the same size and aspect ratio in order to avoid display problems.
- Image sizes should be kept small (e.g. 40x40px).
- Image file names should be easy to identify (e.g.: teacherName.jpg, courseIDlastName.png).
- Image files should be of the same type. We recommend using PNG or JPG.
- Store image files in the same server folder.
- If you wish to store the images on the Blue server, contact the administrator and make sure you can upload pictures in a folder under wwwroot. Potentially, call this folder \images.
- Add images in bulk by downloading/exporting the user datasource and adding a picture URL for each secondary subject in the proper column.
- If the picture field does not exist in Record Mgmt, the field may not exist. Download/export the user datasource and create the new field. Name it something easily recognizable such as teacher_pic or subjectImage.