Single sign-on (SSO) - User mapping
User mappings play a crucial role in the Single sign-on (SSO) configuration, ensuring a seamless and secure authentication process for users. This process involves associating each user with their respective SSO provider.
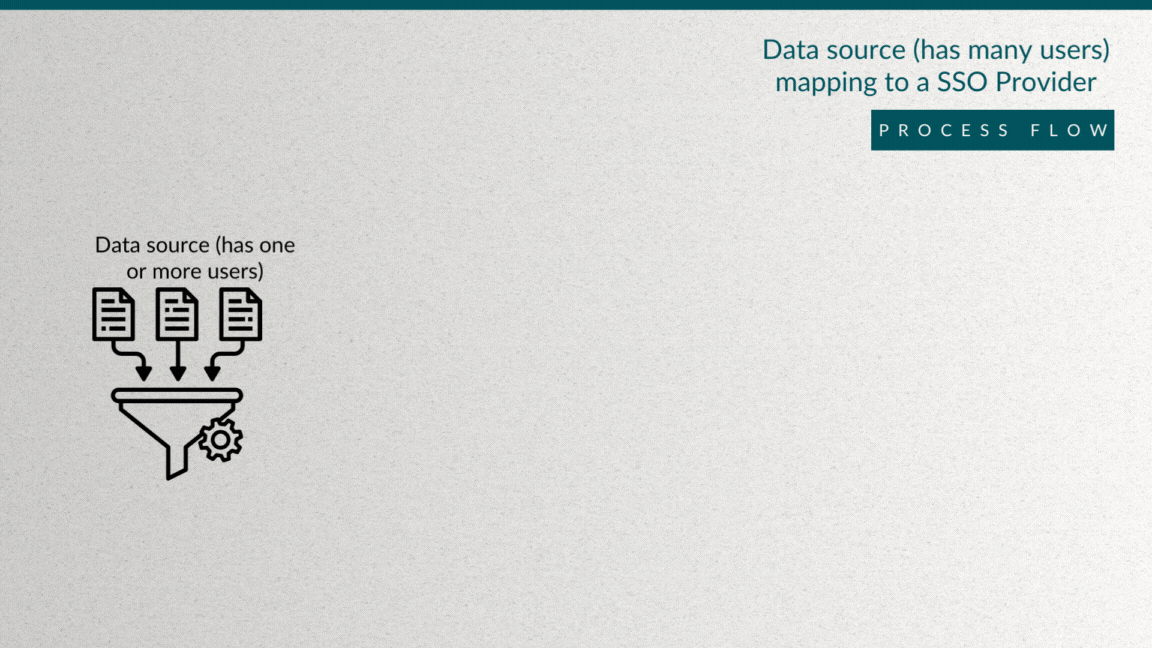
Specific user mapping to SSO provider
Configure the Username Claim Key
To configure the "Username Claim Key" and link it to the relevant demographic, follow these steps:
- Navigate to the Single sign-on (SSO) page
- Identify the SSO you want to configure and click on the Edit next to their name. This will open the “Edit SSO” page which contains SSO information, SSO configurations and User mappings.
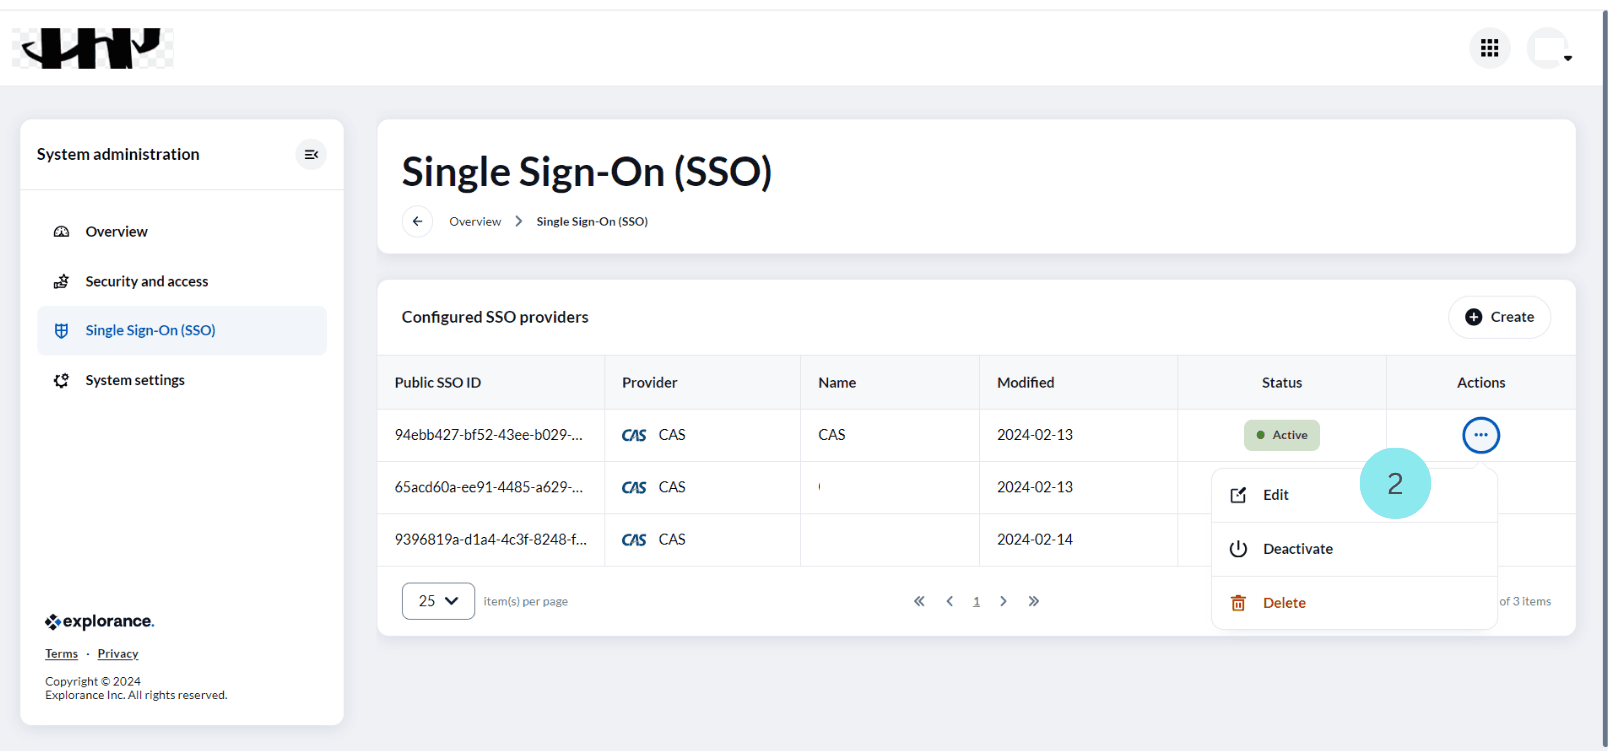
- Each “Edit SSO” page has “SSO configuration” section and “User Mappings” section in it.
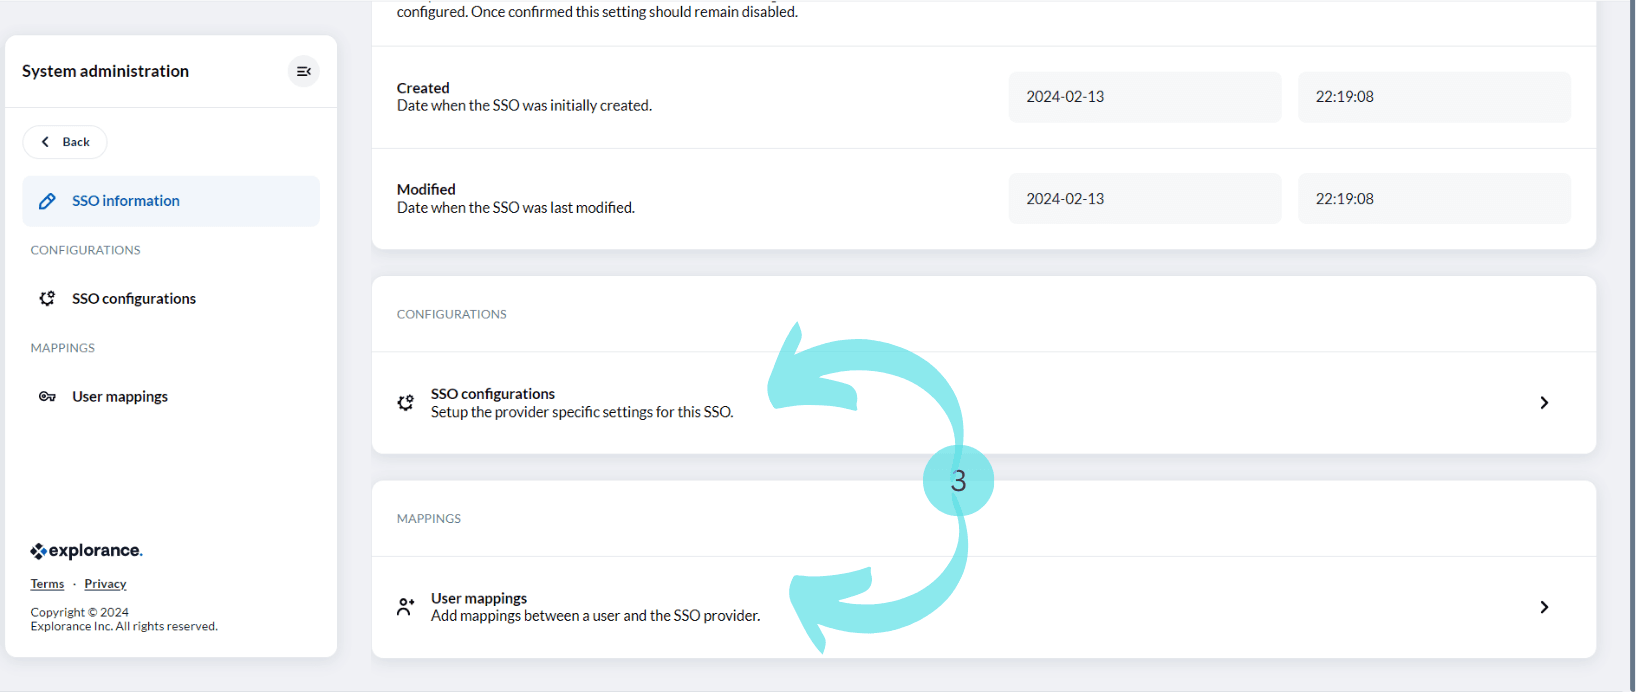
- Navigate to the “SSO configuration” section of the page and open it.
Note Before initiating the mapping process, it is essential to determine the demographic that will serve as the mapping reference, such as an email address or phone number.
- In the “SSO configuration” page, specify the demographic that will serve as the mapping reference in the "Username Claim Key" field.
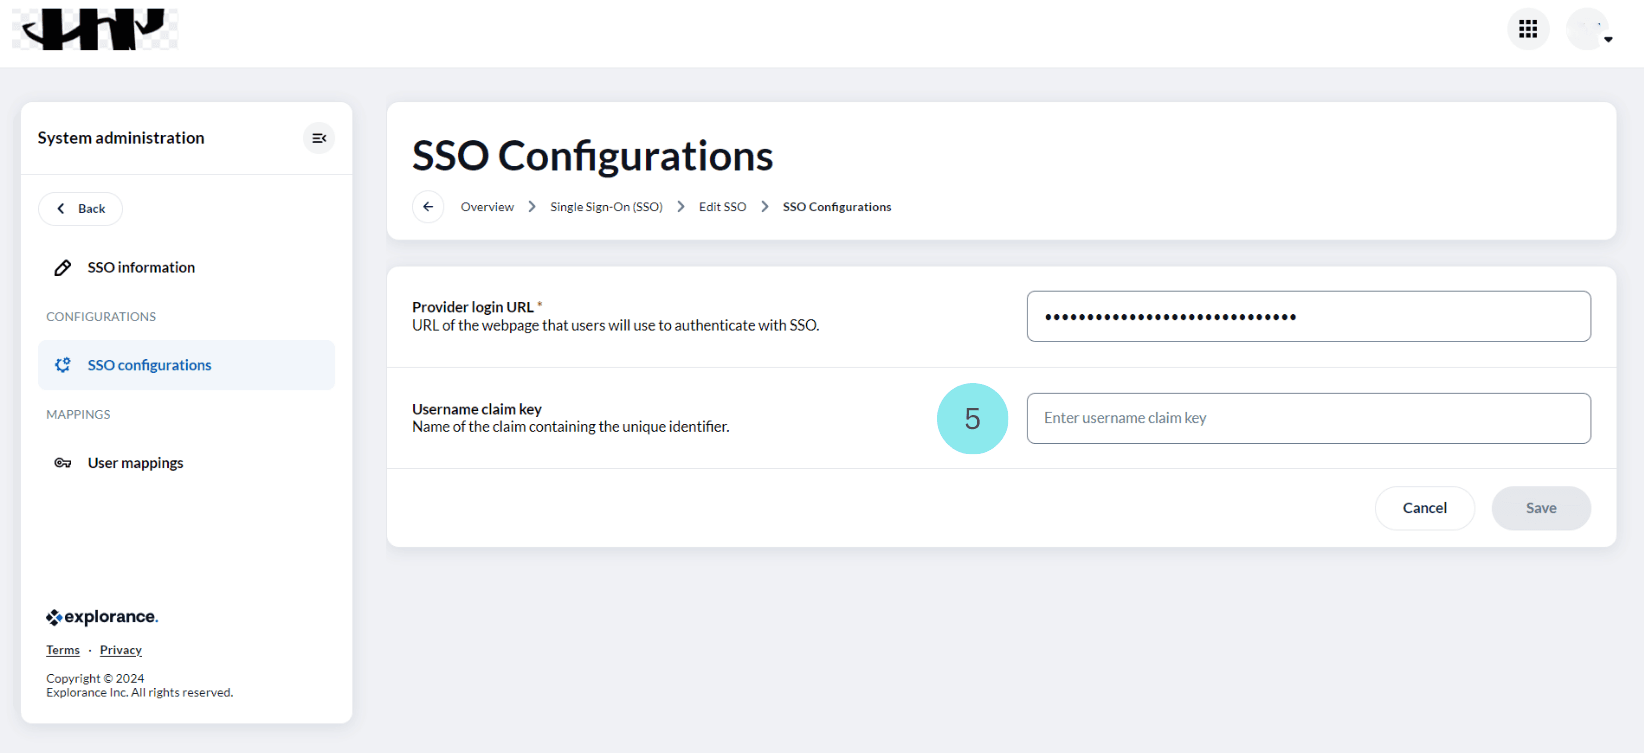
In the process of associating each user with their SSO provider, it is imperative to configure the "Username Claim Key" correctly and link it to the relevant demographic.
Setting Up User Mapping:
To set up user mapping for a specific user, follow these steps:
- Navigate to the Single sign-on page.
- Identify the SSO you want to configure and click Edit next to their name. This will open the “Edit SSO” page.
- Navigate to “User Mappings” and locate the user for whom you want to set up a mapping.
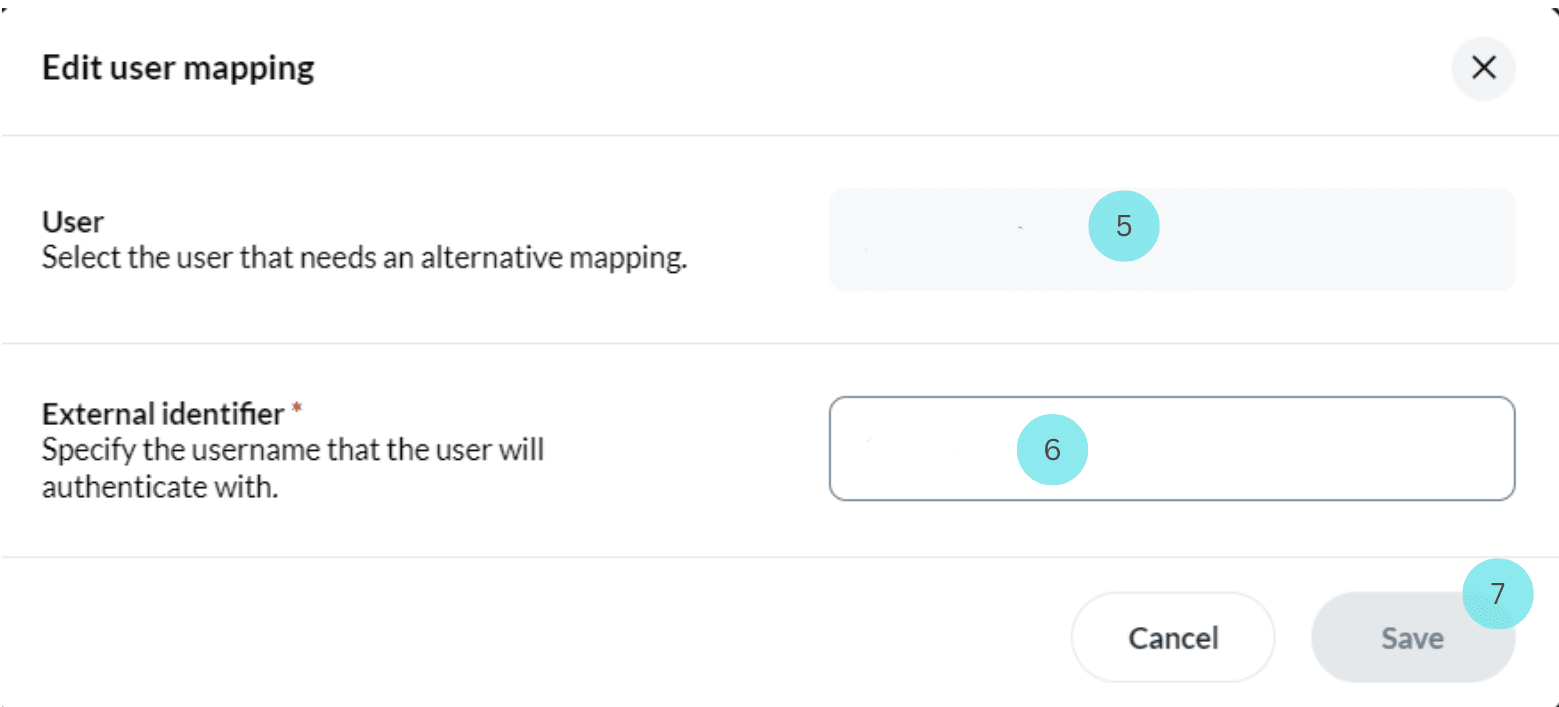
- Click on Edit next to the user's name. This will open the "Edit User Mappings" page.
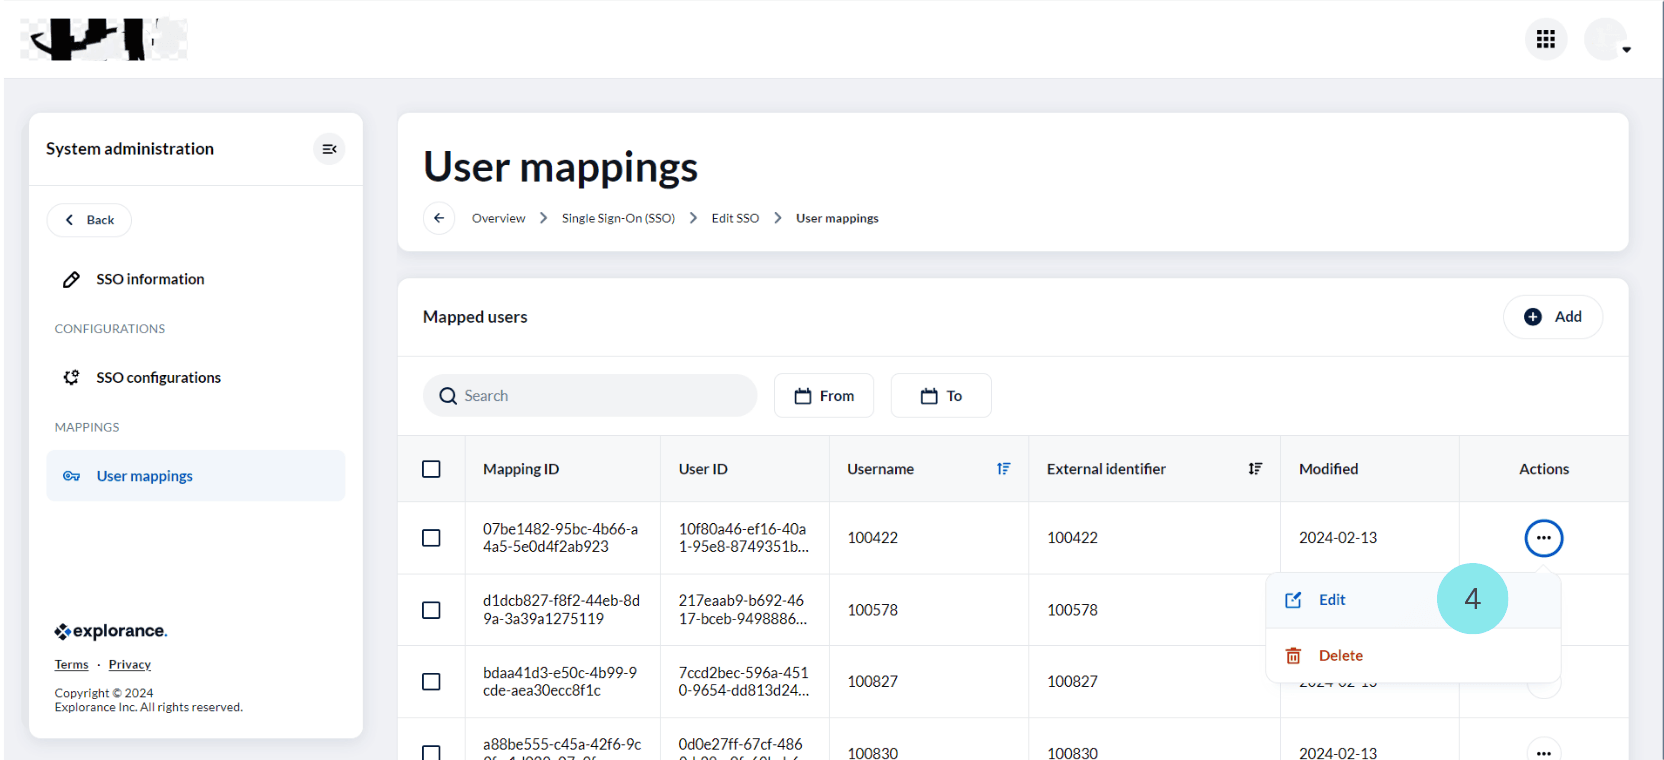
In "Edit User Mappings", you can find the “User” field and the "External Identifier" field.
- Enter the user’s name in the "User" field.
- Enter the corresponding information based on the configured “Username Claim Key” in the "External Identifier" field. For example, if the "Username Claim Key" is set to "email address," enter the user's email address.
- Click Save to save the user mapping.
If, during the SSO configuration, the "Username Claim Key" is, for instance, set to "email ID," then for a successful user mapping, you should enter the user's name in the "User" field and specify the external identifier they will use for login, in this case, the email ID, in the "External Identifier" field.
Example scenario:
Let's consider an example where the "Username Claim Key" is set to "email address" during the SSO configuration.
- Navigate to the Single sign-on page. Identify the SSO you want to configure and click Edit next to their name. This will open the “Edit SSO” page.
- Navigate to the “User Mappings” section of the page and open it. In the 'User Mappings' page, locate the user for whom you want to set up mapping. Click Edit next to the user's name and open the "Edit User Mappings" page.
- In the "User" field, enter the user's name (e.g., Paul David).
- In the "External Identifier" field, input the user's email address (e.g., paul.david@example.com).
- Click Save to save the user mapping.
For instance, when establishing the prerequisite to use a Facebook email address as the username claim key before configuring SSO, you must enter the corresponding schema URL in the designated field. When mapping the user, the External Identifier should be the Facebook email address, as demonstrated in this case. In the user mapping section, provide the username in the user field (e.g., 'SampleUser1'), and in the External Identifier field, input 'sampleuser1@abc.com' as the Facebook email address for 'SampleUser1' to complete the user mapping.
This procedure ensures that each user is accurately linked to their respective external identifier, establishing a seamless and secure authentication process within the Single Sign-On (SSO) system. For large user populations, SSO configurations allow for bulk user mapping. Explore options for efficient bulk mapping if applicable.
Datasource (Bulk user) mapping to SSO provider
Bulk Single Sign-On (SSO) mapping offers a streamlined and efficient way to associate multiple users from a Blue datasource with a specific SSO provider within an organization. This process simplifies the management of user access and authentication, providing a convenient solution for administrators tasked with handling large user bases. By enabling bulk SSO mapping, organizations can save time and effort, ensuring that all relevant users are seamlessly integrated into the designated SSO system. This not only enhances security but also promotes a user-friendly experience, allowing individuals to access various platforms with a single set of credentials.
To initiate bulk SSO mapping in Blue, follow these steps:
- Navigate to the Blue Admin interface and click on the "Datasource" tab. Locate and select the specific datasource that requires mapping.
- Click on the edit associated with the chosen datasource. This action opens a new window where you can modify various settings, including the SSO mapping.
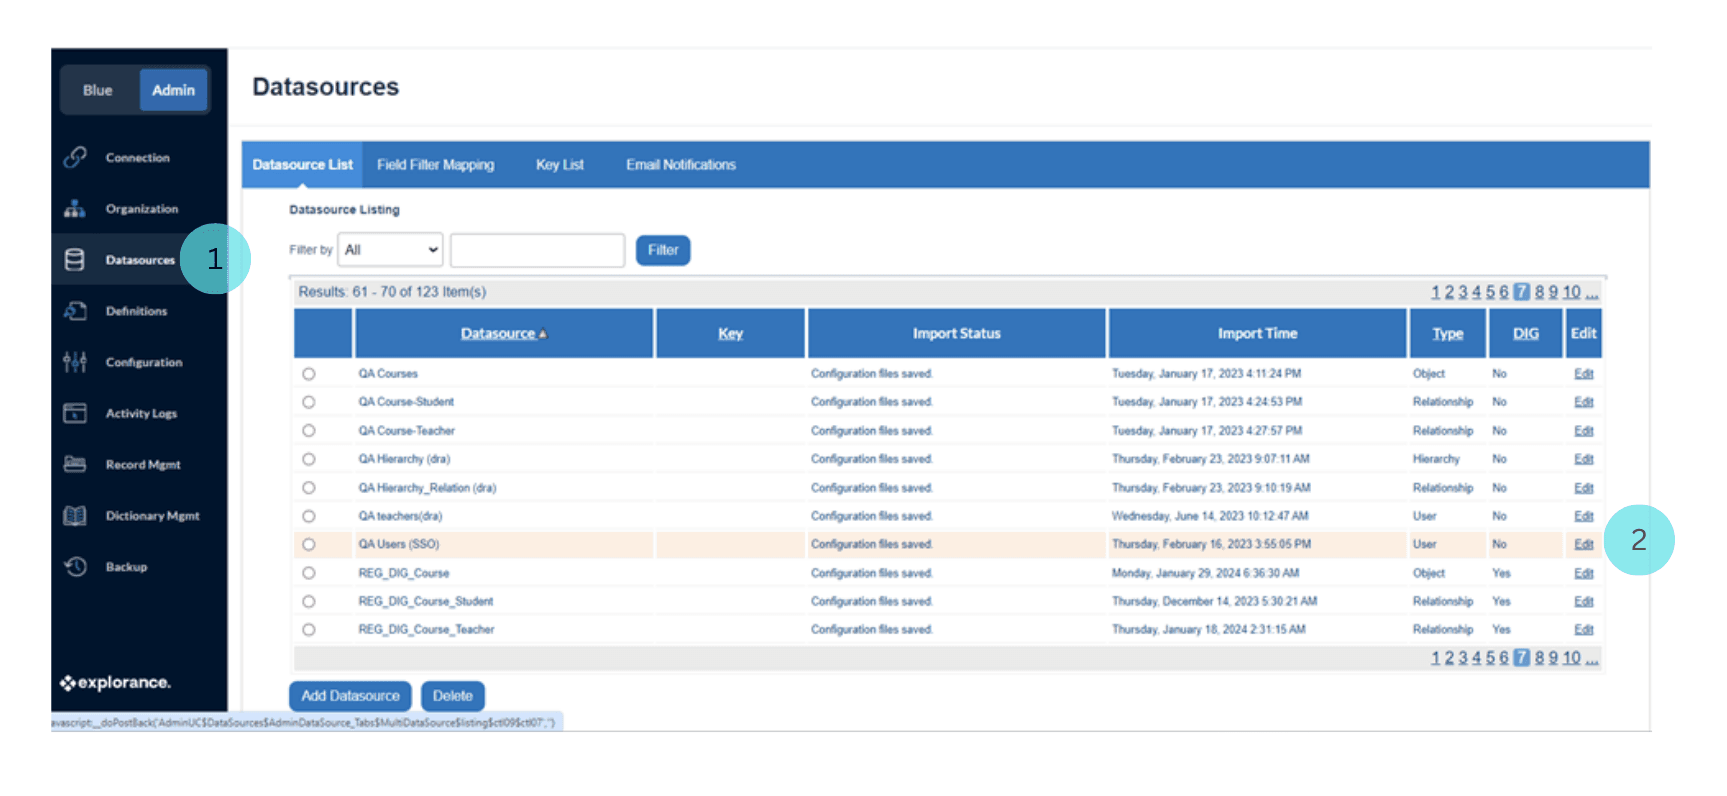
- Within the datasource configuration window, find the "SSO Mapping" tab. Click on it to access the configuration options related to Single Sign-On.
.png)
- From the dropdown menu provided, choose the appropriate SSO provider to which you intend to map the users from the selected datasource.
.png)
- Map the SSO external identifier fields to the corresponding SSO-related fields in the CSV file using the drop-down controls. For instance, if the SSO external identifier for organization A is an email address and the SSO provider is CAS, this step involves mapping the SSO external identifier system field to the CAS user email ID in the CSV file using the dropdown controls. This level of detail ensures precision in the mapping process, aligning the Blue datasource with the specific demographics of the chosen SSO provider for accurate user authentication.
.png)
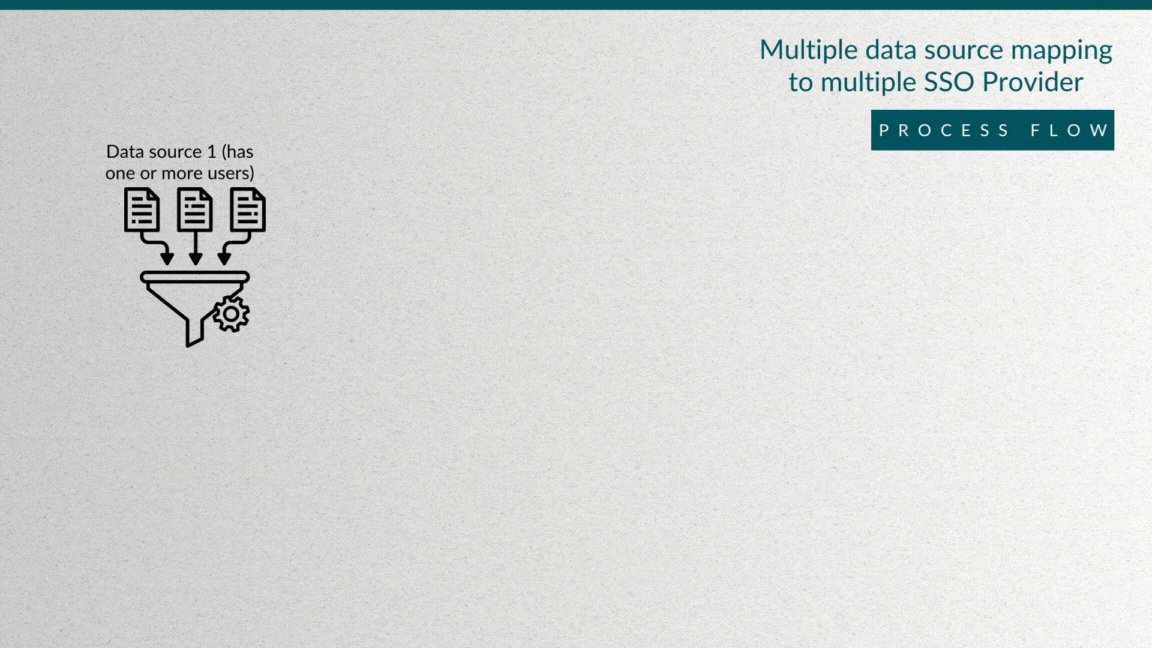
Multiple data source (Bulk user) mapping to multiple SSO providers
Each SSO Mapping serves as a pivotal link, establishing a connection between a datasource and one of the available SSO providers that the organization has subscribed to. Users can be available in multiple datasources, and each can be linked to a distinct SSO provider, effectively enabling the mapping of users to multiple SSO providers.
Consider the scenario where an organization, let's call it A, has subscribed to two service providers, namely CAS and Google. In this complex but flexible system, the organization employs a strategic approach:
Step 1: Navigate to the Blue Admin's data source tab and access the data source of organization A (let's call it datasource 1). Utilize the SSO mapping functionality to seamlessly link datasource 1 to the CAS SSO provider. This ensures a direct and secure connection between the specified datasource and CAS, offering users a streamlined authentication experience tailored to the CAS platform.
Step 2: Recognizing the need to map users from datasource 1 to more than one SSO provider, the organization introduces a second datasource (let's call it datasource 2). Users who require mapping to multiple SSO providers are included in datasource 2, strategically segregating them from the primary datasource. Subsequently, employ the SSO mapping feature once again, this time linking datasource 2 to the Google SSO provider. As a result, these users are now effectively mapped to both CAS and Google SSO providers, offering a versatile solution for organizations with diverse authentication requirements.
This approach not only demonstrates the adaptability of the bulk SSO mapping system but also highlights its capability to manage complex scenarios, ensuring that users seamlessly navigate authentication processes across multiple SSO providers while maintaining a high level of security and precision.
User login
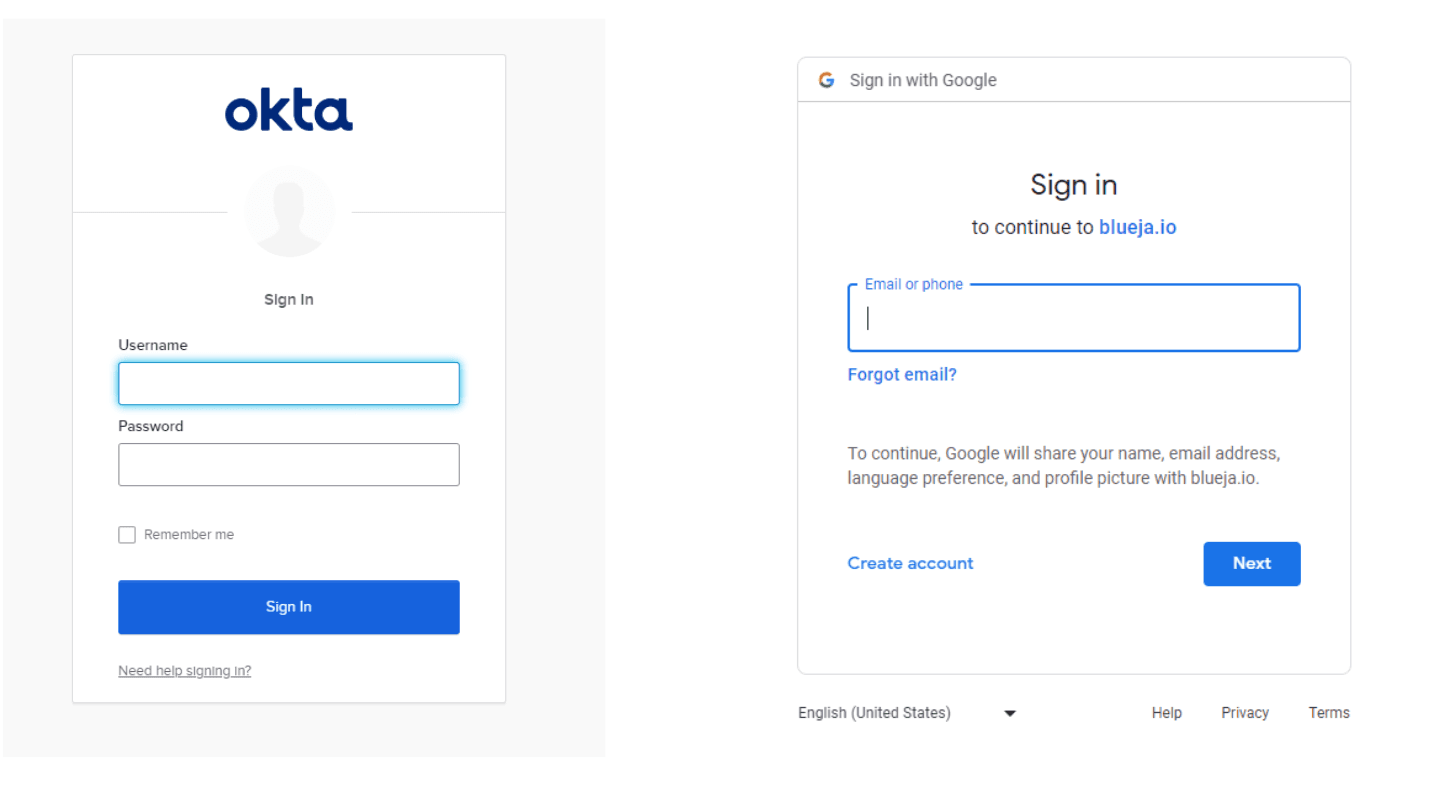
Once the user is linked to their respective external identifier, user authentication takes place in the SSO provider to which the user is mapped. SSO providers available in Blue include CAS, Facebook, Google, Microsoft, OpenID, Okta, SAML, and WS-Federation. Upon an organization's association with one of the aforementioned SSO providers, it will be assigned a unique SSO provider name during the configuration process. Blue’s login page for the user features a dropdown list containing the unique SSO provider names configured for that organization. Users can select the SSO provider they wish to log in to from this dropdown list. Upon providing their login credentials and selecting the desired SSO provider, the corresponding user login page for the selected SSO provider will open. This process enhances user convenience and security by seamlessly integrating various authentication options into a cohesive login experience.
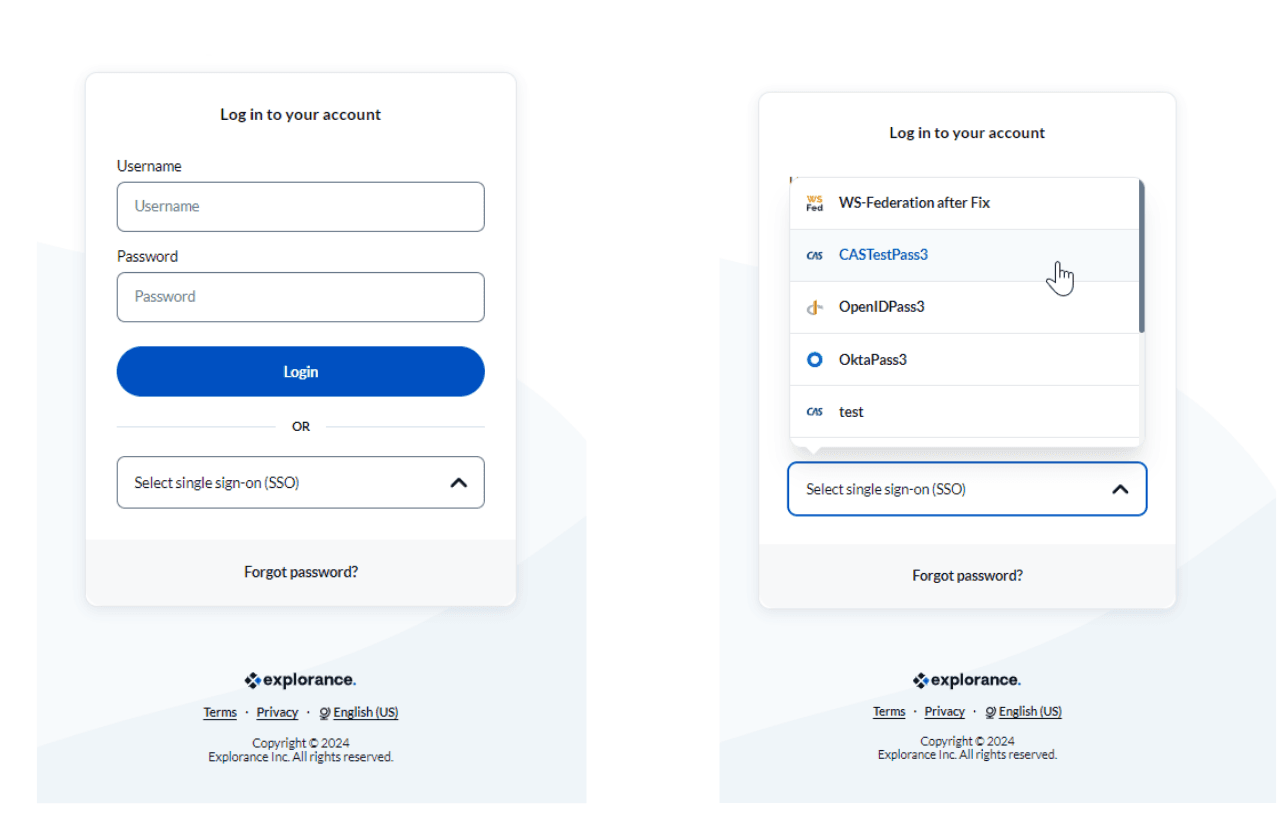
The user login pages for each SSO provider are shown in the figure below.
.png)
.png)
In conclusion, Single Sign-On (SSO) stands as a powerful tool, enhancing security through the elimination of weak passwords and improving user usability by simplifying access across multiple applications. Combined with robust multi-factor authentication and compliance support, SSO is pivotal in fortifying digital account security and streamlining IT management, resulting in a more secure and efficient organizational landscape.