Designing a certificate
Certificates can be provided upon completion of a fillout task. Certificates can be downloaded as a PDF from the thank you page of an evaluation or via the completion email. Project managers are able to customize certificates with custom logos and messaging including information taken from the datasource.
THINGS TO KNOW ABOUT CERTIFICATES
- Certificates are only available for hosted customers on a subscription basis.
- Images uploaded to the certificate editor must be PNG, JPEG, GIF, or BMP formats.
- Certificates must be customized or they will not be available to task owners.
- Images must be less than 5MB in size.
- Certificates are available for download on the thank you page and in the completion email.
- Certificates support multiple languages, however if additional language content is missing, the default language will be used.
To customize a certificate:
- Log in to Blue as a project manager.
- Open a project.
- Navigate to the fillout task configuration experience.
- Enable certificates.
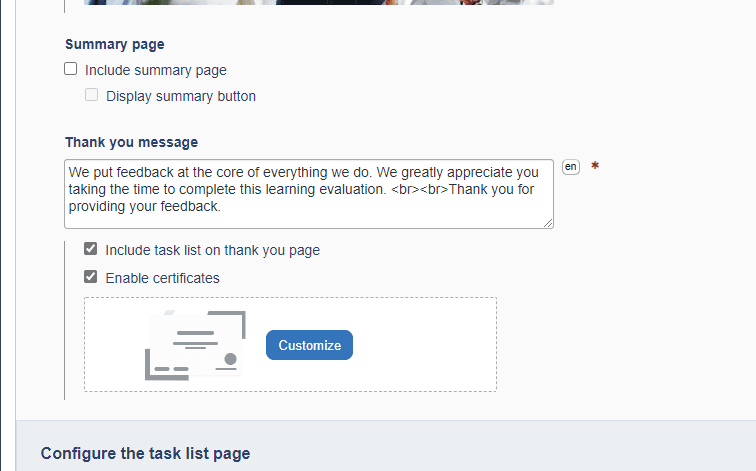
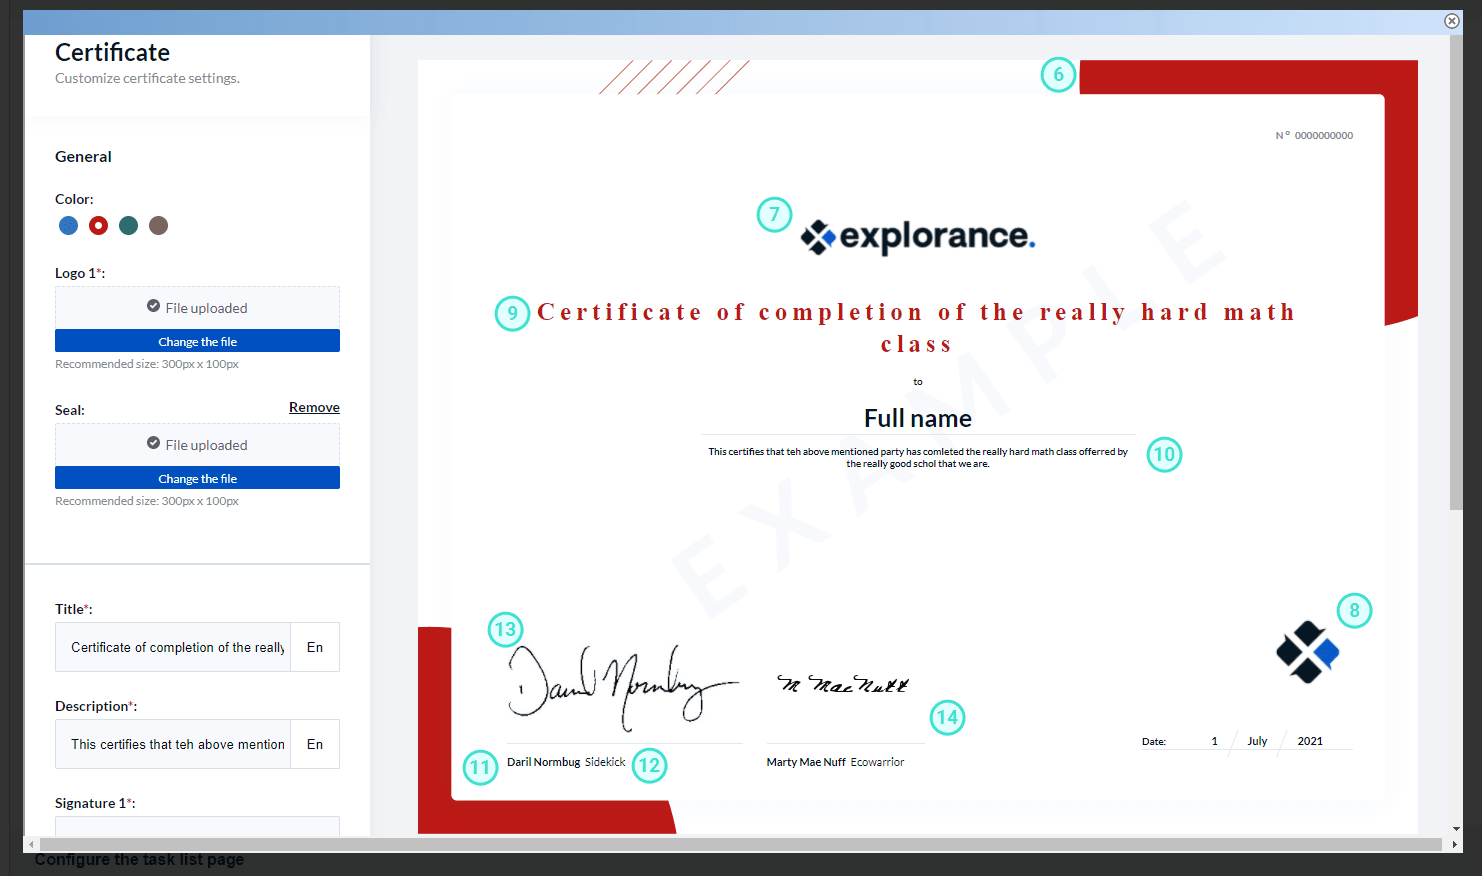
- Select Customize once the certificates have been enabled. The certificate editor will launch.
- Choose one of the four color schemes available.
- Upload the center logo with recommended dimensions of 300px x 100px.
- Add an optional official seal with recommended dimensions of 300px x 100px.
- Enter a title for the certificate. The title can be up to 100 characters in length and will automatically wrap if needed.
- Add a short description up to 1200 characters which can include piped in values from the datasource. The text will automatically wrap if needed.
- Add a signature name to the certificate, up to 50 characters.
- Include the title of the signatory, up to 50 characters.
- Add an image of the signature.
- Repeat steps 11-13 to add second signatory if necessary.
- Click Save once you've made all the changes to the certificate.
Related articles
Related Articles
InConfigure project tasks