Manage Blocks in BPI (Overview)
Integrating Blue content in a Learning Management System (LMS) with Blue Portal Integrator (BPI) is done through the creation of BPI blocks. Blocks allow users to access portions of Blue through their existing platforms, bringing the power of Blue into an already familiar tool.
These are the available BPI Blocks:
- Feedback Block - a connection with the data in a datasource. Used for instructors and supervisors to view response rates and scores updated on a daily basis.
- Launcher Block - a small block that can be expanded into a larger block. Links to the other four types of blocks. A Launcher Block allows you to reduce the number of blocks that will be added to the LMS by creating links to BPI blocks.
- Report Block - a list of Blue reports. Used for instructors and supervisors (e.g. deans and department chairs) to view reports.
- Task Block - a list of pending and completed Blue tasks. Used for raters to fill out evaluations, and instructors personalizing their questions.
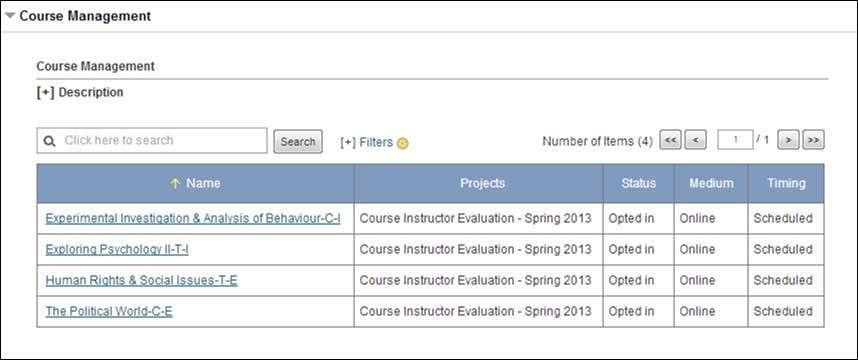
- Subject Block - subject specific information. Used for instructors and supervisors to opt-in or opt-out subjects and instructors from the evaluation process.
- Pathway Task Block - a list of Fillout tasks (Blackboard Learn only).
Build a Block
- Navigate to BPI - Blocks.
- Select Add block.
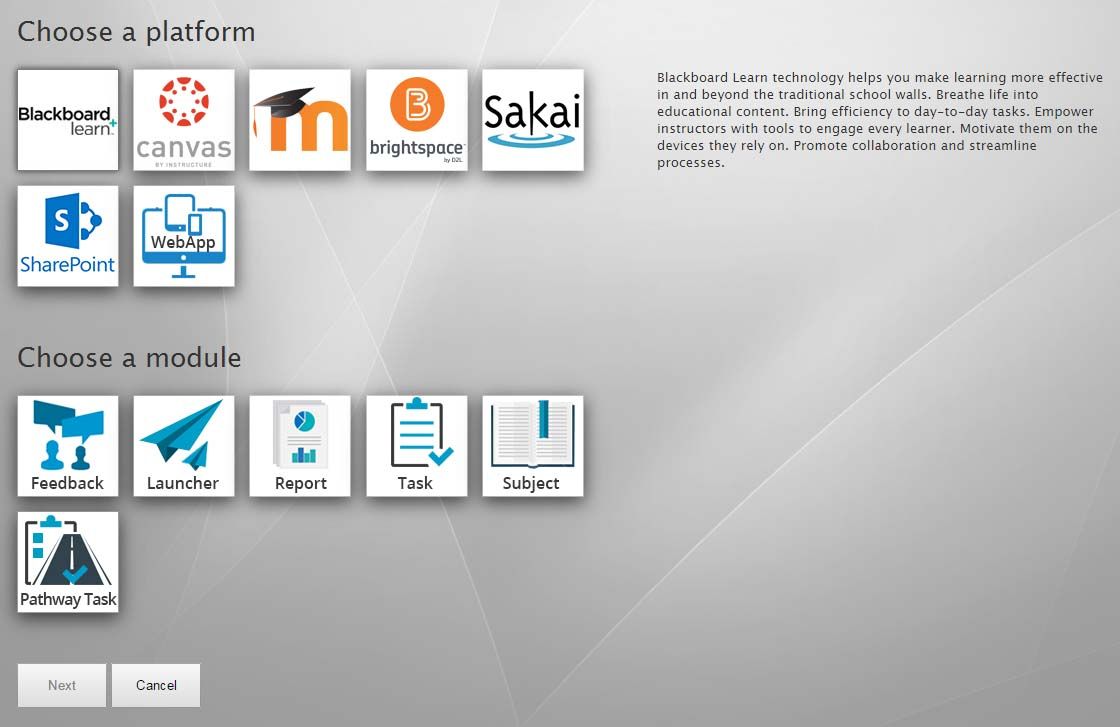
- Choose a platform.
- Choose a module.
- Select Next.
- Configure the block specific options.
- Select Save.
Task Blocks and Report Blocks have the ability to display notifications and alerts. A small red number will appear in the upper right corner indicating the number of new alerts or notifications present.
Preview a Block
View how a block will look in the selected platform by following these steps:
Blackboard Learn Native blocks cannot be previewed. This includes the Task Block, Pathway Task Block, Report Block, and the Launcher Block.
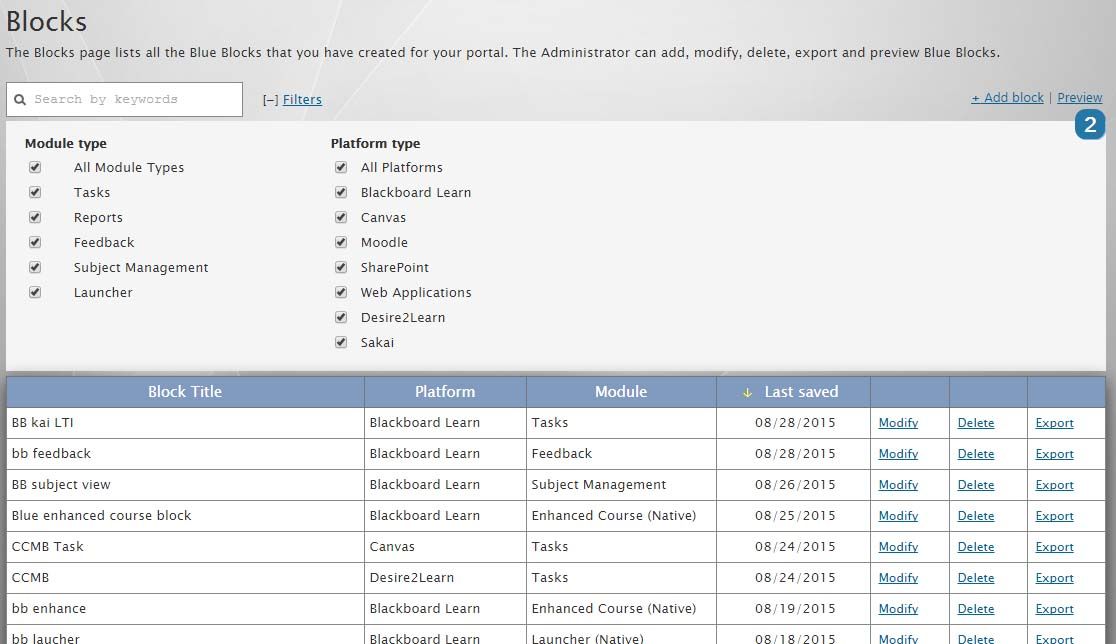
- Navigate to BPI - Blocks.
- Select Preview to open BPI - Blocks - Preview.
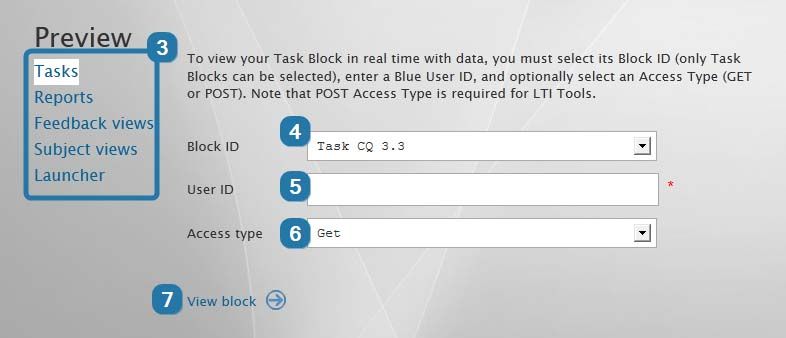
- Select the type of block to preview.
- Block ID - Choose the block to preview.
- User ID - Include a Blue username to view that users block information (optional for Feedback Block).
- Access type - For Report Blocks and Task Blocks set the Access type (Post is required for LTI Tools).
- Select View block to open a new window with a live preview of the selected block based on the chosen settings.
Export a Block
In order for a BPI block to appear within a platform, it will need to be exported from BPI.
Export a block from BPI:
- Navigate to BPI - Blocks.
- Select Export beside the relevant block.
- Save the file.
Now the block needs to be added to the appropriate platform.
When you export a block, a file is created that contains configuration information for the block, relevant code, URLs, security keys, etc.
Contents of an Exported Block
| Platform | File Contents |
|---|---|
| Blackboard Learn | A ZIP file that contains configuration information about the building block, JSP (Java) server code for all the displays, grade blocking, etc. |
| Canvas | A text file with instructions and customized code. |
| Moodle | A text file with instructions, customized code, and assorted keys. |
| Brightspace | A text file with instructions and customized code. |
| Sakai | A text file with instructions, customized code, and assorted keys. |
| SharePoint | A text file with a link and instructions. |
| WebApp | A text file with a link and instructions. |
The Blackboard Learn Community Engagement License is required to install building blocks for Blackboard Learn. If you do not have the license, an LTI tool must be created instead.
When you export a WebApp Block, BPI generates a text file that contains a URL that will load the WebApp. This URL needs to be adapted to include user credentials and other necessary parameters to view the appropriate Blue data. Additional code may also be needed to properly integrate the WebApp with your system.