Organize content with headings and page breaks
Headings are used as section titles and help separate topics. Page breaks are used to create pages that respondents will navigate, making sure you do not overwhelm them with too much content on a single page.
Apply heading styles
Use headings as a hierarchy of content. This will help build your table of contents.
- Heading 01 - should be used only once and for the main title of the form
- Heading 02 - main section
- Heading 03 - sub-section
- Heading 03 - sub-section
- Heading 02 - main section
- Heading 03 - sub-section
- Heading 04 - sub-section of 03
- Heading 04 - sub-section of 03
- Heading 03 - sub-section
- Heading 03 - sub-section
- Heading 02 - main section
- Heading 02 - main section
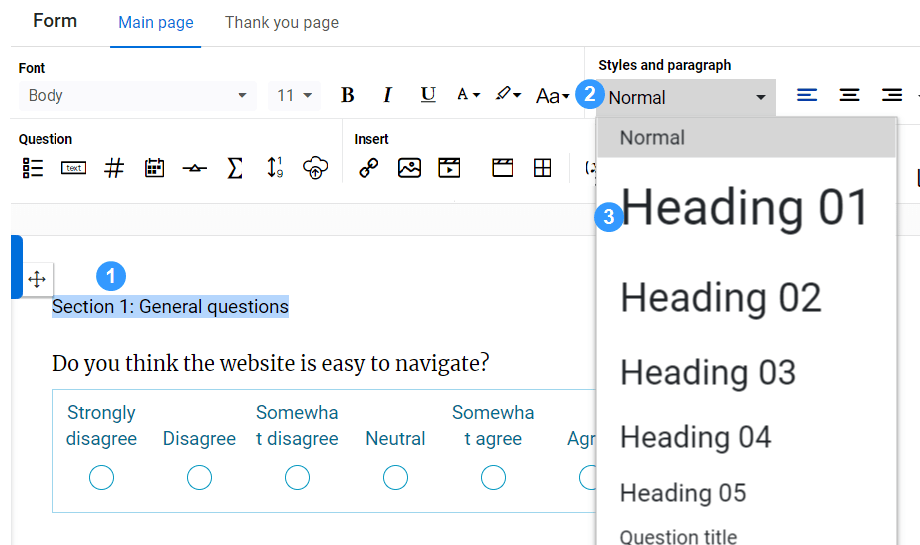
- Navigate to Form - Main page and select the text you want to use as a heading.
- Expand the style drop down in the Styles and paragraph toolbar.
- Select the heading style you want.
The Question title style can be used to automate the binding of Question titles and questions.
Add a page break
A page break is used to end the current page and start the next one. Using page breaks is a good habit in terms of organizing your content, making it appear concise and organized rather than sending participants in information overload.
- Navigate to Form - Main page, and place the cursor at the location you would like to start a new page.
- Select the page break icon (
 ) in the Structure toolbar (or use the keyboard shortcut AltP).
A page break contains navigation buttons. Depending on the position of this page inside the form, the navigation buttons could include NEXT, PREVIOUS or SUBMIT.
You can move a page break by dragging it to a better location. You can also modify the navigation buttons (e.g. change "Submit" to "I'm done"). To delete a page break, select the page break and press Backspace or Delete .
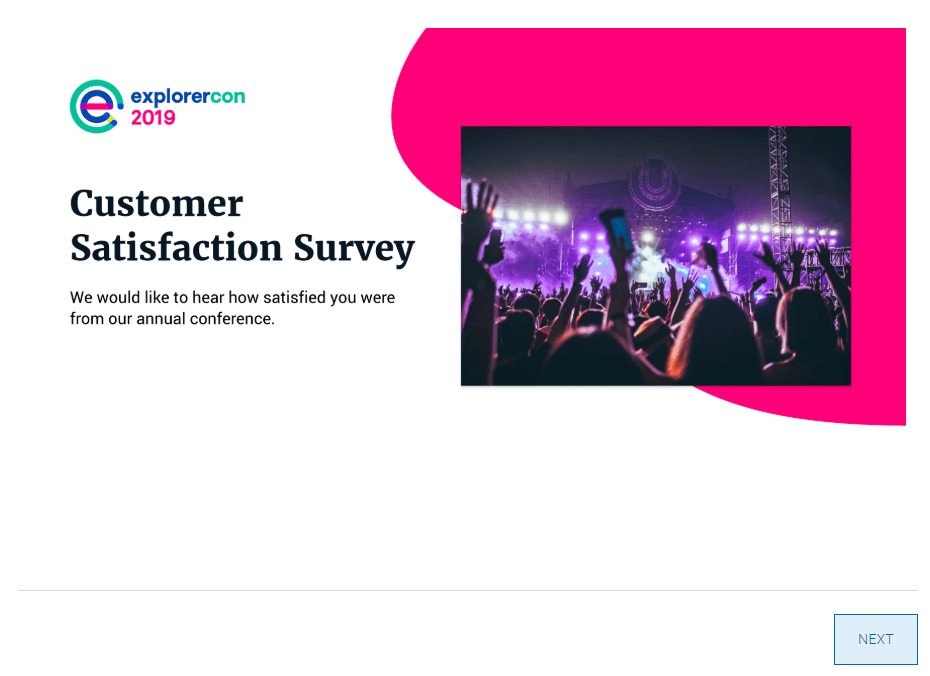
The first page break usually includes a button to go to the next page. If your survey only has one page, then this button will be replaced by a submit button.
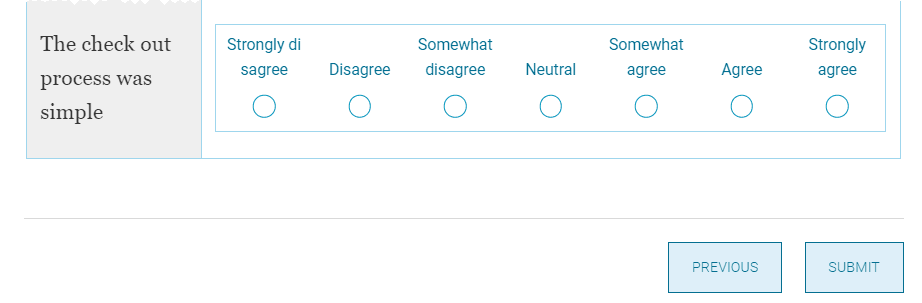
A page break in the middle of a multi-page Form includes the PREVIOUS and NEXT buttons.

The last page of a Form always includes the SUBMIT button.
All the headings and pages will be listed in Survey overview - Navigation. Jump to a specific location in the survey by selecting the page number or heading.
Add page navigation logic
Page breaks add Next and Previous buttons to the survey flow. These buttons can be disabled under certain conditions, preventing respondents from moving forward or backwards in the survey.
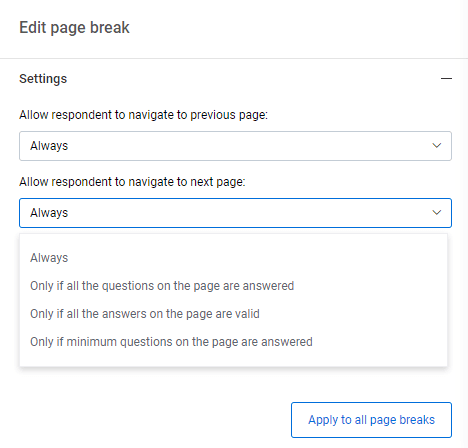
- When editing your survey form, select a page break to display the page break settings.
- Select one of the following conditions under Allow respondents to navigate to the previous page:
- Always - allows respondents to navigate back to the previous page without restrictions.
- Not allowed but show the button - the Previous button is displayed but cannot be selected.
- Not allowed and hide the button - the Previous button is hidden.
- Select one of the following conditions under Allow respondents to navigate to the next page:
- Always - allows respondents to navigate to the next page without restrictions.
- Only if all questions on the page are answered - requires that all questions on the page (even if not flagged as "Required") are answered before continuing to the next page.
- Only if all the answers on the page are valid - requires that all questions are answered correctly (no errors and required questions are answered) before continuing to the next page.
- Only if a minimum of questions on the page are answered - requires that a set number of questions have been answered on the current page to proceed. You will need to determine that value in a field that appears after you have selected this option.
- Select Apply to all page breaks for these settings to be applied to all page breaks in your form.
InCustomize the look and feel of your form
InCreate your survey